Upload a clear photo to MyColoring.ai's Photo to Coloring Page tool, pick a style, and download a printable black-and-white outline as PNG or PDF — you can try it free without signing up.
This guide walks through every control on the Photo to Coloring Page screen, explains what each setting costs in credits, and shows which photos give the cleanest lines.
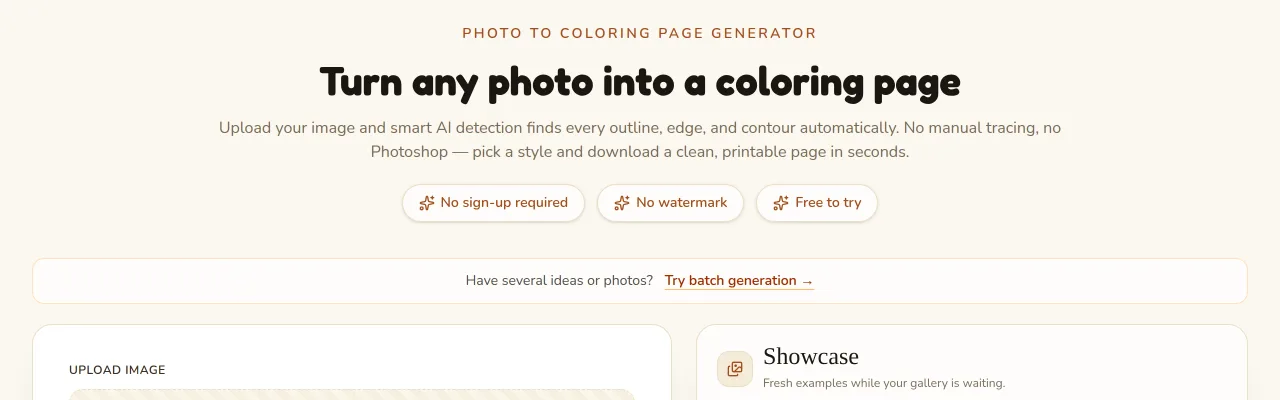
The six steps at a glance
| Step | What you do | Where on the screen | Cost |
|---|---|---|---|
| 1 | Pick a clear photo | Your phone or computer | Free |
| 2 | Upload it (JPG, PNG or WEBP) | Upload Image drop zone | Free |
| 3 | Choose a style and aspect ratio | Style and Aspect Ratio | Free |
| 4 | Choose a resolution and quantity | Resolution (Basic, Standard, Ultra) and Quantity | 2, 4 or 6 credits per image |
| 5 | Generate | Generate button | Shown on the button |
| 6 | Download PNG or PDF, or color online | Your result card | Free, unlimited downloads |
Step 1: Pick a photo that converts well
The AI traces the edges it can see, so the photo you start with matters more than any setting. A sharp picture with a clear subject gives you bold, closed shapes that are easy to color. A dark or cluttered one gives you scribbly lines.
| Photo type | Result | Why |
|---|---|---|
| Pet close-up on a plain floor | Excellent | One subject, strong outline, simple background |
| Portrait or family photo in daylight | Very good | Faces and clothing give clear shapes |
| Single object (toy, car, flower) | Very good | Easy to read edges, little background noise |
| Landmark or building | Good | Straight lines trace well; turn on Background cleanup for busy streets |
| Group of many people far away | Fair | Small faces lose detail; crop closer before uploading |
| Night shot, blurry or backlit photo | Poor | The AI cannot find edges it cannot see |
Tips before you upload:
- Crop first. Cut away anything you do not want on the page. A tighter crop means larger, easier-to-color shapes.
- Use good light. Daylight photos with visible contrast between the subject and the background trace best.
- Avoid tiny subjects. If your dog is a speck in a big field, the page will be mostly grass.
Step 2: Upload your photo
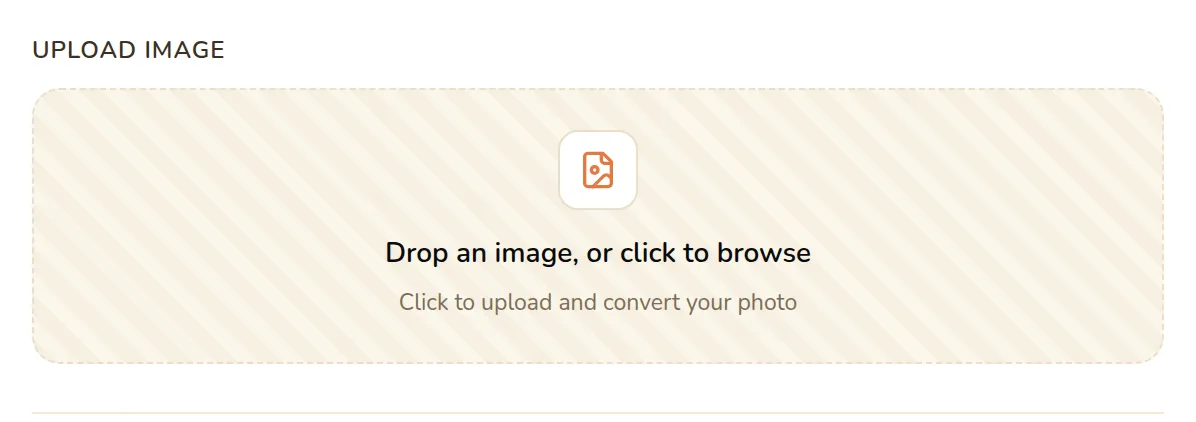
Click the Upload Image area or drag a file onto it. The tool accepts common image formats, including JPG, PNG and WEBP, up to 10 MB per image.
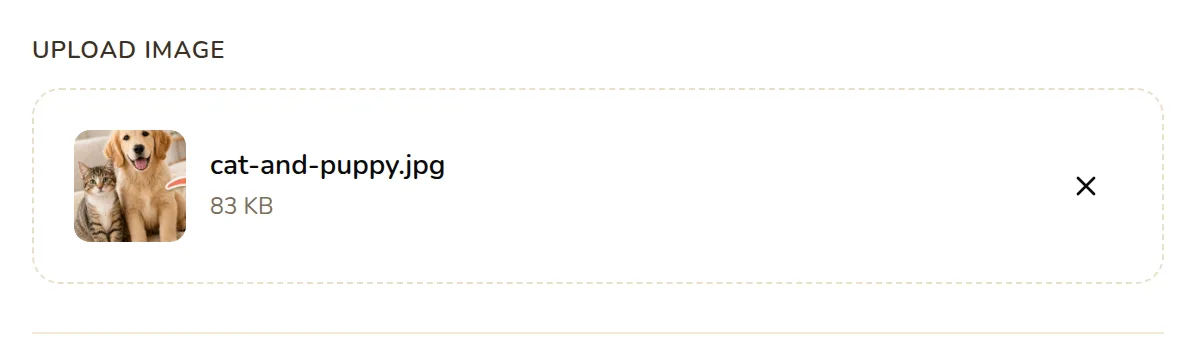
Once the file is added you will see a thumbnail with the file name and size. Click the × to swap it for a different picture.
Step 3: Choose a style and aspect ratio
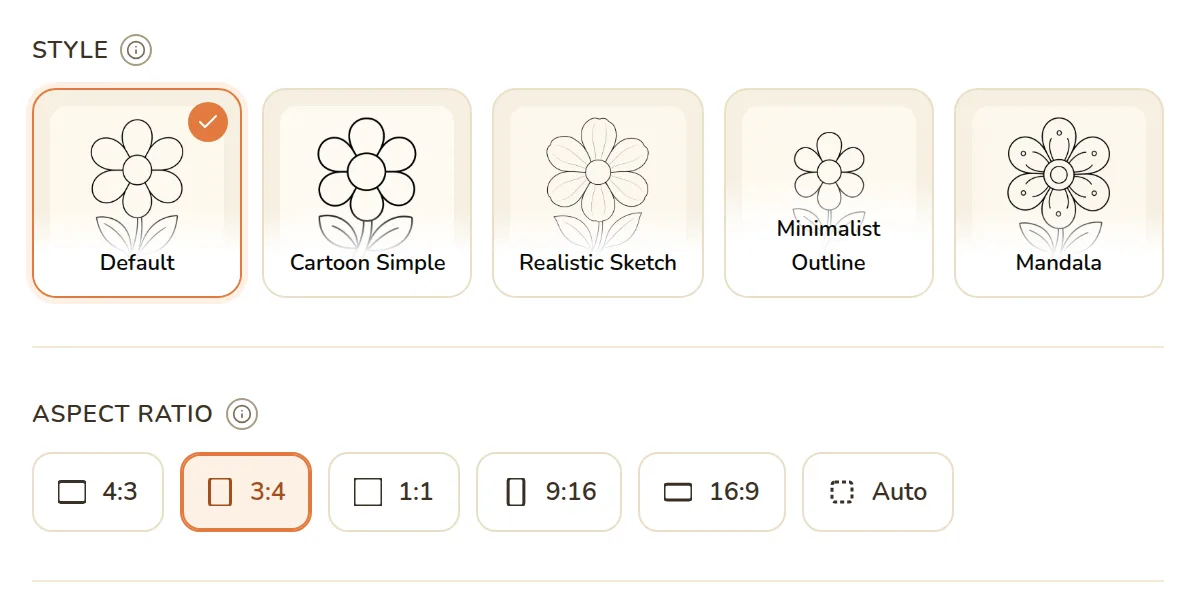
Pick one of five Style cards. Each gives the same photo a different line character:
- Default — balanced line thickness for general use.
- Cartoon Simple — thick, bold outlines and fewer details, best for young children.
- Realistic Sketch — fine, detailed lines for teens and adult colorists.
- Minimalist Outline — clean, sparse lines for a modern look.
- Mandala — turns the photo into symmetrical, intricate patterns.
Under Aspect Ratio you can choose 4:3, 3:4, 1:1, 9:16, 16:9 or Auto. When you upload a photo, the tool pre-selects the ratio closest to your picture, so a typical portrait phone photo switches to 3:4 on its own. Pick 3:4 for a portrait layout, or 4:3 for a landscape page. When you print, scale the image to fit your paper and keep a margin around it.
Step 4: Choose a resolution and quantity
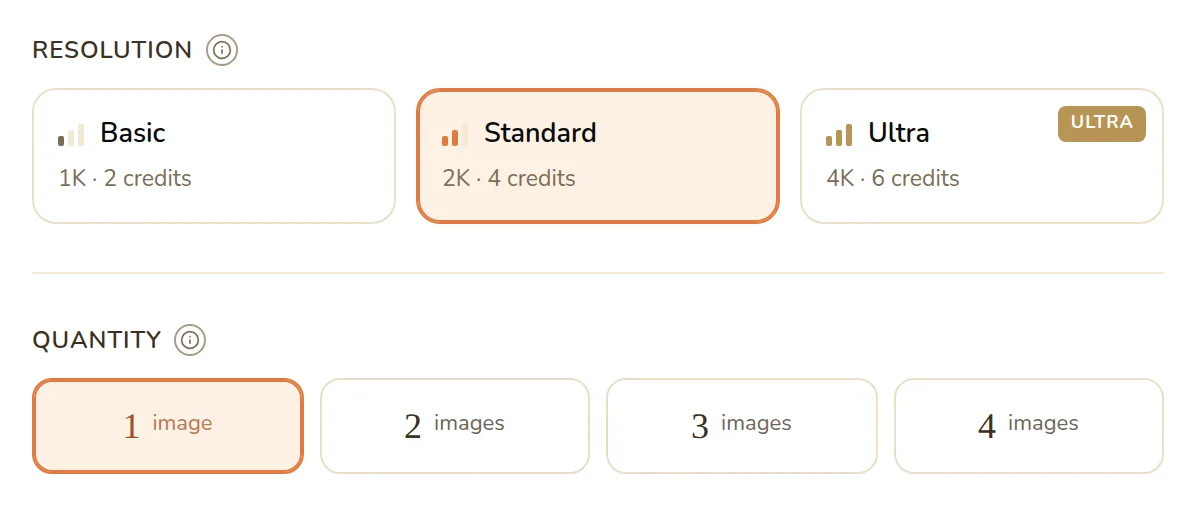
Resolution decides how much detail the page holds and how many credits it uses:
| Option | Resolution | Credits per image | Best for |
|---|---|---|---|
| Basic | 1K | 2 credits | Quick previews, screen coloring |
| Standard | 2K | 4 credits | Everyday printing on letter or A4 (default for photos) |
| Ultra | 4K | 6 credits | The most detail, larger prints |
One limit to know: the Auto ratio only generates at 1K.
Quantity lets you make 1, 2, 3 or 4 versions of the same photo in one go. The AI draws each version a little differently, so asking for two or more is a simple way to pick your favorite. The Generate button always shows the total credits before you click.
Step 5: Set privacy and generate
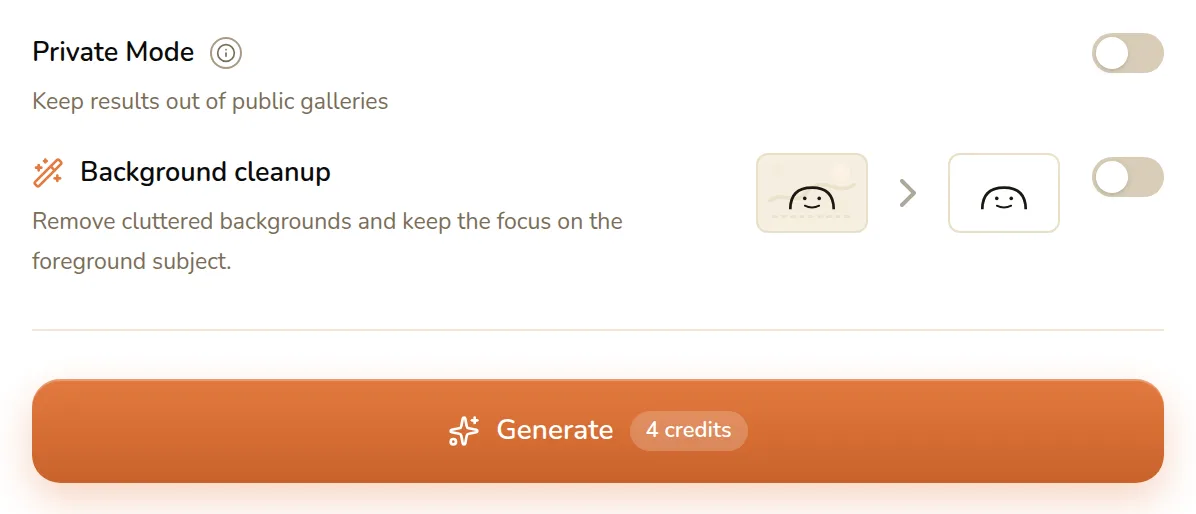
Two switches sit above the button:
- Private Mode keeps results out of public galleries. It is available on paid plans only. If you generate as a guest or on a free account, your finished page may appear in the public Gallery on Explore, where other visitors can see it. For photos of your children or your home, use a paid plan and turn Private Mode on first.
- Background cleanup removes a cluttered background so the page focuses on the main subject. It is useful for photos taken in busy rooms or streets.
Then click Generate. You can have up to 4 images generating at the same time. If a generation fails, the credits are refunded automatically.
Step 6: Download, print or color online
Your finished page appears in the results panel next to the form, and later in your History. From there you can:
- Download PNG — best for digital use, sharing or tablet coloring apps.
- Download PDF — ready to send straight to a home or office printer.
- Color Online — open the page in the online coloring editor and color it in your browser with brushes and fill tools.
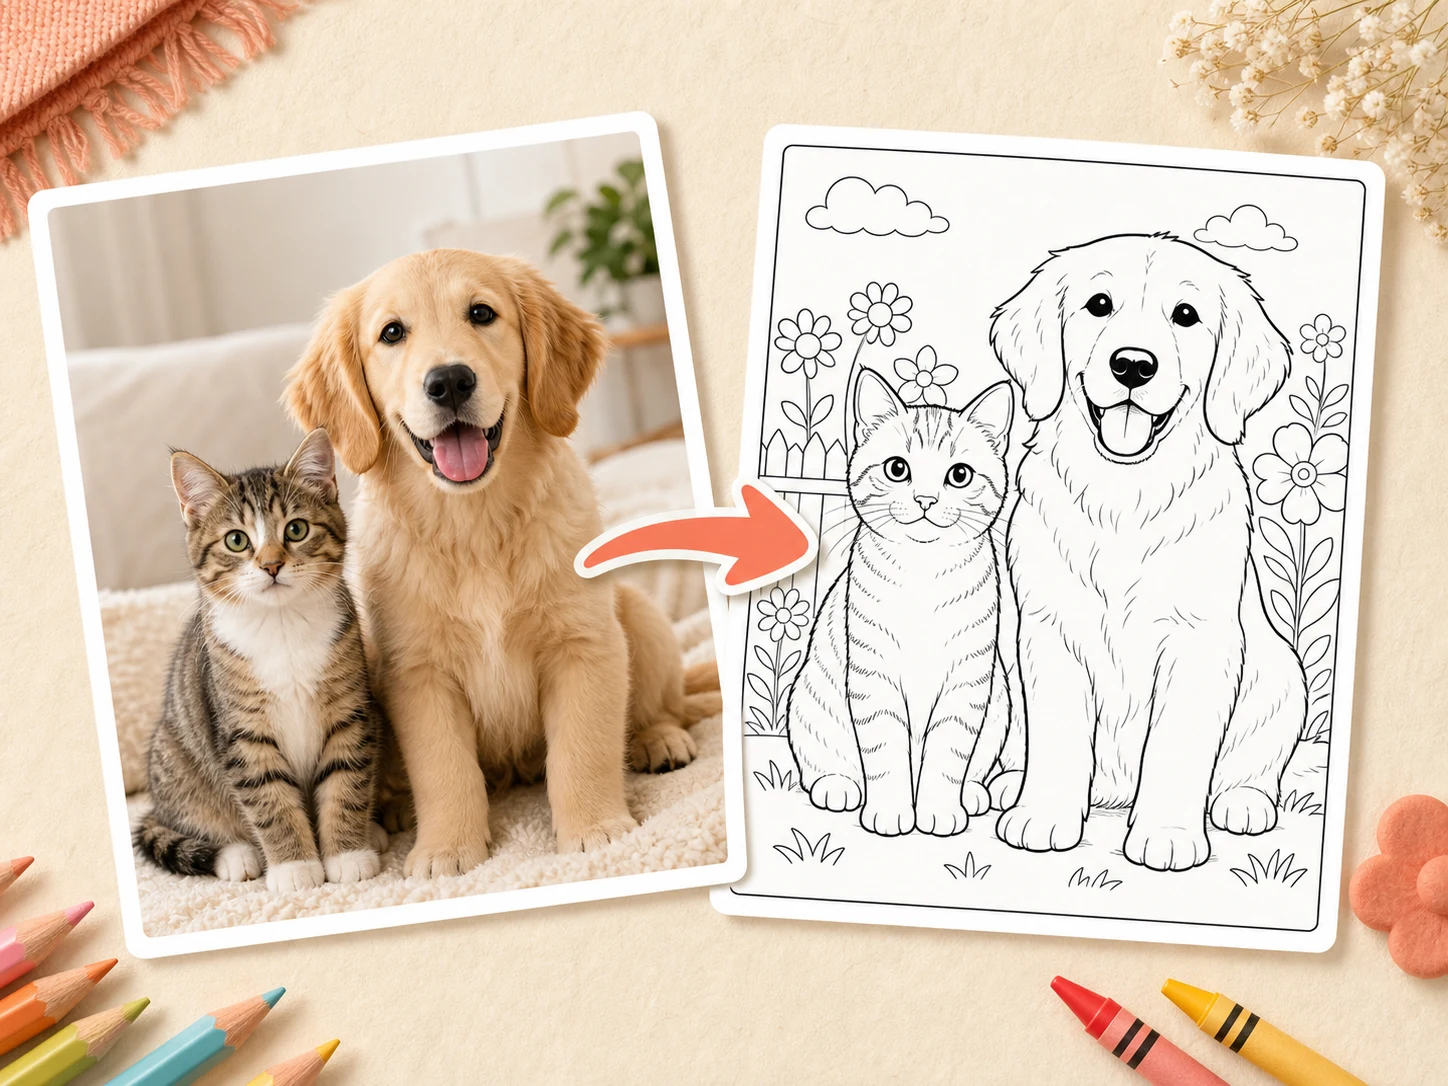
Every download is free of watermarks, and there is no limit on how many times you download your own pages. Here is what a finished photo conversion looks like:
How much does it cost?
You can start for free: current guest trial and sign-up offers are listed on the pricing page. A free account can also collect daily check-in credits, up to 18 credits per week, which covers four Standard 2K pages every week.
If you convert photos often, monthly plans on MyColoring.ai start at $9.99 per month for 200 credits, with larger plans of 500 and 1500 credits and one-time credit packs if you prefer not to subscribe. See pricing for details.
Two rules to keep in mind:
- Free pages are for personal and classroom use. Selling pages, or using them in products such as KDP books or Etsy printables, needs a paid plan. All paid plans, including one-time packs, include commercial use.
- Private Mode is paid only, as explained in Step 5.
Common problems and quick fixes
| Problem | Fix |
|---|---|
| Too many tiny lines in the background | Turn on Background cleanup, or crop the photo tighter |
| Lines too thin for a young child | Switch the style to Cartoon Simple |
| Face details look off | Use a closer, better-lit photo, or generate 2–4 versions and pick the best |
| Page looks stretched or cropped oddly | Change Aspect Ratio to match your photo (3:4 for portrait shots) |
| Printed lines look soft on a big sheet | Regenerate at Standard 2K or Ultra 4K instead of Basic 1K |
Going further
- Lots of photos? Signed-in users can convert up to 50 images in one run with batch coloring pages, with each image up to 10 MB. Every image is charged at the resolution you choose, the same as the single tool.
- Prefer a pencil look? Photo to Sketch turns a photo into an outline sketch instead of a coloring page.
- Making a book to sell? Our step-by-step guide on making a KDP coloring book with AI covers trim sizes, page counts and commercial rights.
Ready to try it? Open the Photo to Coloring Page tool, drop in your favorite photo, and print your first page.